

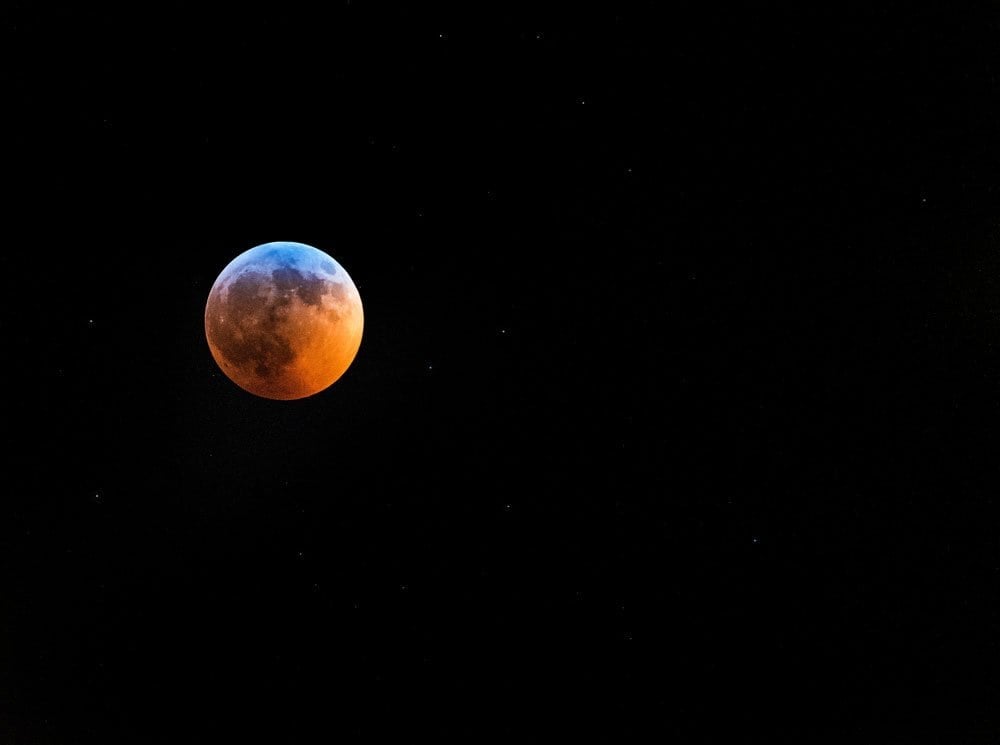
But I’m glad I didn’t give in. This morning was a reminder that the experience of seeing something new for the very first time is just as rewarding as traveling to a remote location somewhere around the globe. I may have been cold, and I may have lost some sleep, but the feeling of watching the moon morph from a bright, yellowish-white disc to just a sliver, and then transforming into a ball of reddish-orange, was well worth temporarily frozen fingers and cold feet. And the photos I took will keep the feelings I experienced alive well after the excursion.
I’ve found that photography can be a powerful motivator to overcoming the barriers that keep me from getting out and exploring the world around me. The idea of capturing that one moment that I can share with others usually enhances my experience. And it doesn’t seem to matter how well the photos turn out.
Since this was my first time photographing a total lunar eclipse, I thought I would share what I learned from the experience along with some tips for those who want to make better nighttime photos:
Light Pollution – It’s generally not polite to use flashlights because it limits visibility for others who might be trying to see the night sky. This also affects your own ability to see what you’re photographing. I like to use a red filter on my flashlight since red light doesn’t cause as many problems. Not all skies are equal. If you’re photographing near a metropolitan area, visibility will be much lower because city lights dampen the view of stars, meteorites, and the Milky Way. Since I was focusing on the more visible moon, I was able to get away with some light pollution, but it’s always better to find the darkest spot possible. Before shooting, I’ve found it helpful to use the Dark Sky Finder app that provides detailed maps of light levels around the world.
Camera Support – In this situation, while you may be able to take hand-held photos of a bright moon, you’ll need a tripod with a remote trigger to prevent camera shake during long exposures. For these photos I used a Nikon D750 with a Nikkor 200-500 mm F/5.6 lens mounted on a Manfrotto carbon fiber tripod.
Preparation – It’s important to plan ahead. Cold temperatures drain power quickly. Have your batteries charged and bring spares. You don’t want to waste time focusing once the eclipse starts because this can be more difficult at night, particularly if you rely on autofocus. Since the moon is over 238,000 miles away, you can set your lens in advance so it’s focused at the infinity mark. But unlike most older camera lenses that made a hard stop when the point of infinite focus was reached, meaning when you turned the focus ring to infinity you couldn’t go any further, modern autofocus lenses sometimes allow users to pass this point, making it difficult to know if your focus is accurate even at infinity. I like to initially use autofocus aimed at the most distant object available (in this case the moon) to set focus beforehand. Then I switch to manual mode to keep the setting fixed. You can also focus manually to infinity, but you have to check in the viewfinder to make sure things are sharp, so I find using autofocus in advance makes things much easier. And if I wanted to set focus during daylight, I would just pick an object as far away as possible and use that in place of the moon. As an added precaution, I tape the focus barrel so it won’t move, since when autofocus is disabled, even bumping it will change settings.
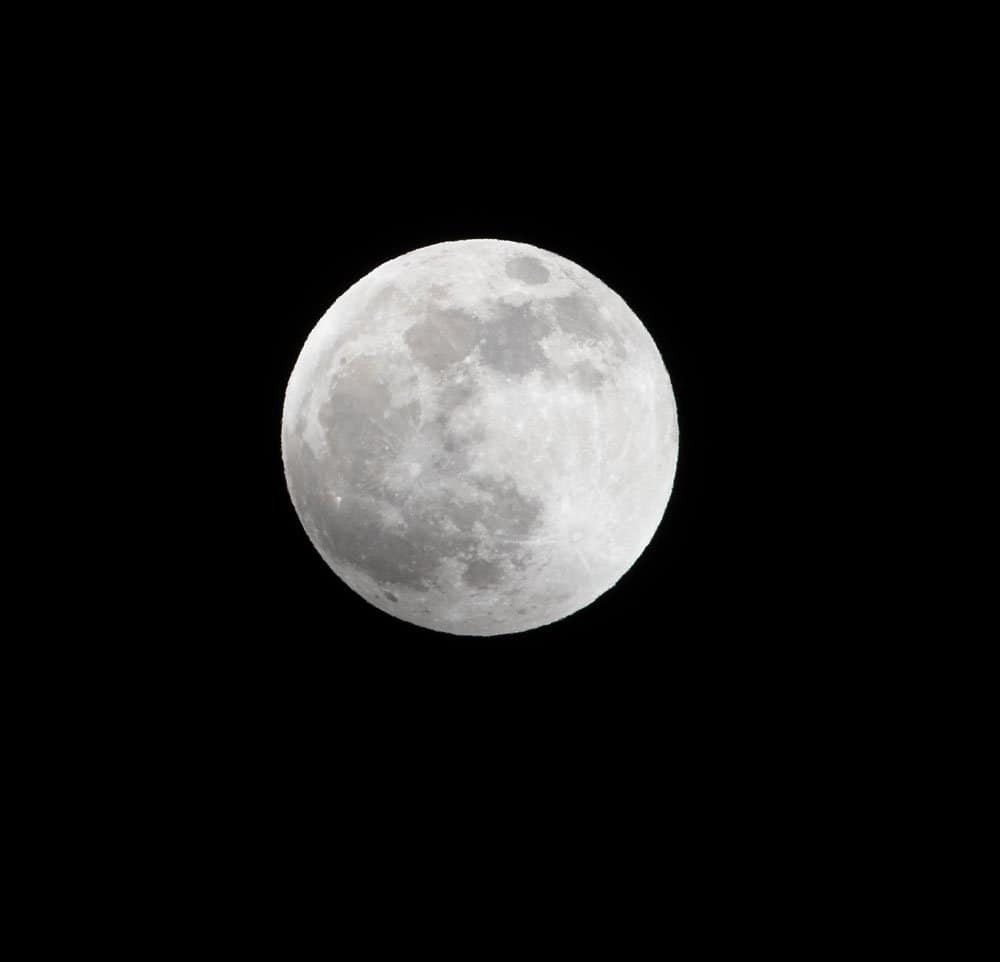
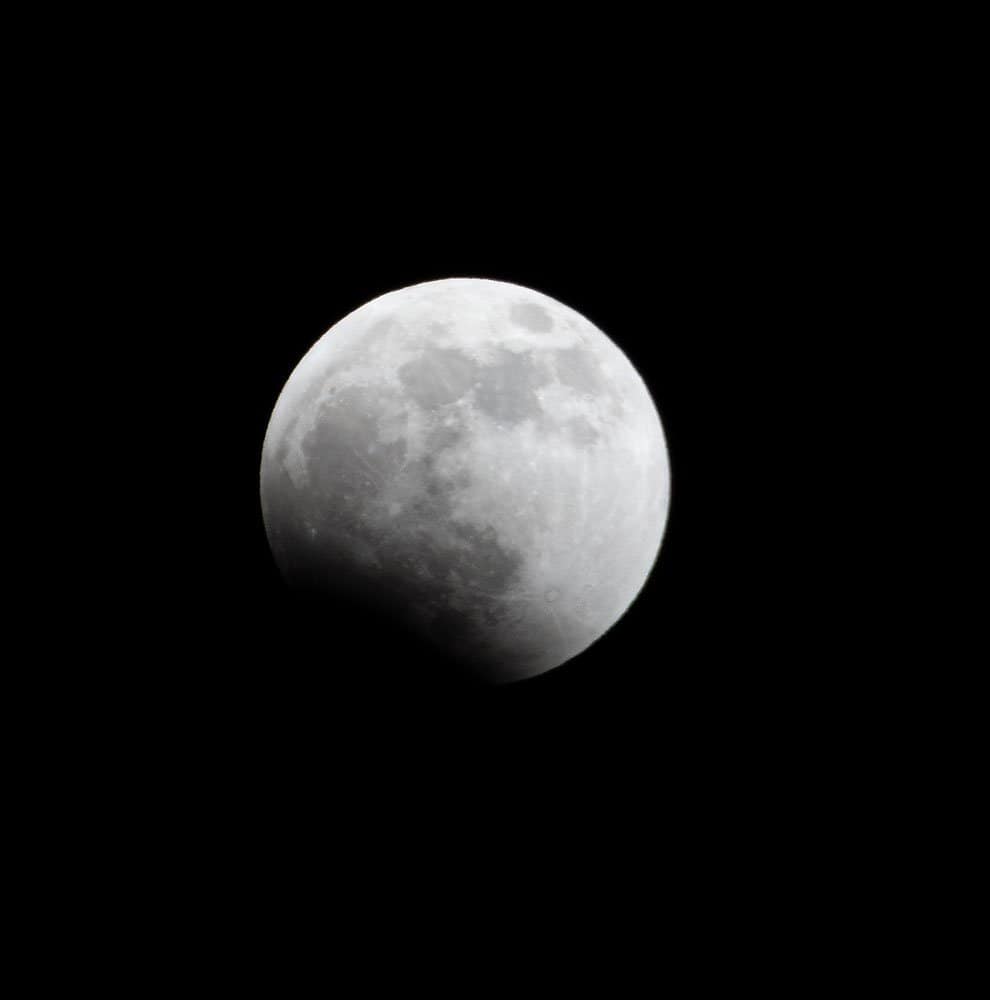
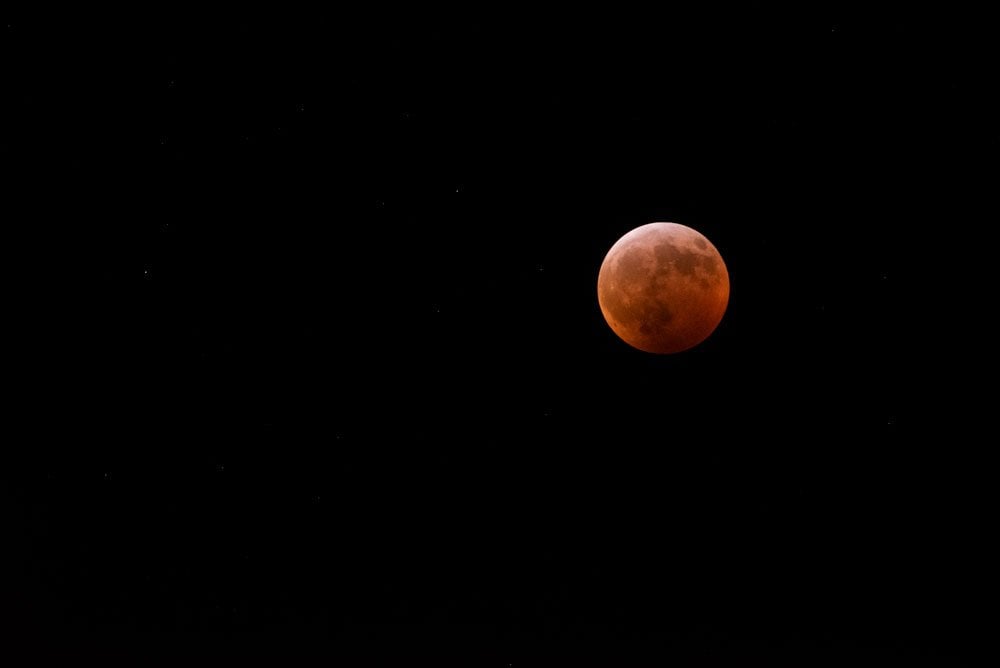
Exposure Settings – A moon clear of cloud cover is typically bright since it reflects the sun’s light, so exposure settings are comparable to shooting subjects in daylight. At ISO 400, I shot an initial photo of the full moon at 1/500 at f/8. As the Earth’s shadow progressively covers the moon, you may need to adjust your exposure to compensate for the lower light levels. When the eclipse enters totality, the light level drops considerably, so I was shooting at 6400 ISO at f/5.6 with shutter speeds as low as 1/4 of a second. But the moon orbits the Earth at speeds exceeding 3,000 kph, so it may surprise many that the seemingly stationary disc hanging in the sky often needs at least a shutter speed of 1/60 a second to attain a sharp image and possibly higher speeds depending on the focal length of your lens – the longer the lens, the more the action is magnified. But, I was surprised that I was able to take photos that appeared sharp during the totality stage with a shutter speed of 1/4 of a second, and this slower speed afforded the added benefit of capturing some starlight. While I’m sure if I cropped in on these images some blur motion would be evident, for this particular crop it seems to have worked out well. This article from B&H Photo & Video provides a helpful exposure guide that covers a variety of circumstances you may encounter, and it also has several ideas for possible approaches.
Equipment – Camera sensor quality varies from model to model and photography is one thing where you really do get what you pay for. When choosing equipment, I suggest investing in high quality lenses, since the best camera with a poor lens will generally take lower quality images than a good lens on a camera with a lower quality sensor. While having good photographic equipment is helpful, don’t feel like you have to have the latest and most advanced professional gear. There are a variety of prosumer cameras that won’t drain your bank account that can produce quality images. And, don’t feel like you have to have the longest, most powerful telephoto lens either. While the Nikkor 200-500 mm f/5.6 is one of my favorites because of its portability, image stabilization, and fixed aperture, you can still take good photos of the moon with smaller focal lengths. In the end, it really comes down to your personal expectations and the kind of photos you want to create. But don’t let your equipment stop you from trying.
Setbacks – Embrace your mistakes and don’t be afraid to mess up. I’ve been taking photos professionally for over two decades, and I admit that I found myself thinking that I might not go out to view the eclipse because I didn’t think I would get good enough photos. Like most skills, photography is one where the more mistakes you make, the better you get. For example, everything I had ever been taught about photographing the moon would suggest that you need to have at least a 1/60 second shutter speed to capture a sharp image, but since I wasn’t afraid to experiment with slower shutter speeds, I was able to get a much better photo than I had imagined – and it also had the added benefit of showing some starlight. Remember, the experience of being outside where you can experience new things and discover the world around you will be far more valuable than the dissatisfaction of photographic mishaps or cold fingers.
If you have questions about how these photos were taken or are interested in learning how Uncharted is working to help people overcome the barriers that oppose discovery and exploration, post in the comments and I’ll do my best to respond as soon as possible.
Responses
We will be photographing the total solar eclipse that will be visible across parts of the United States, so stay tuned for more.